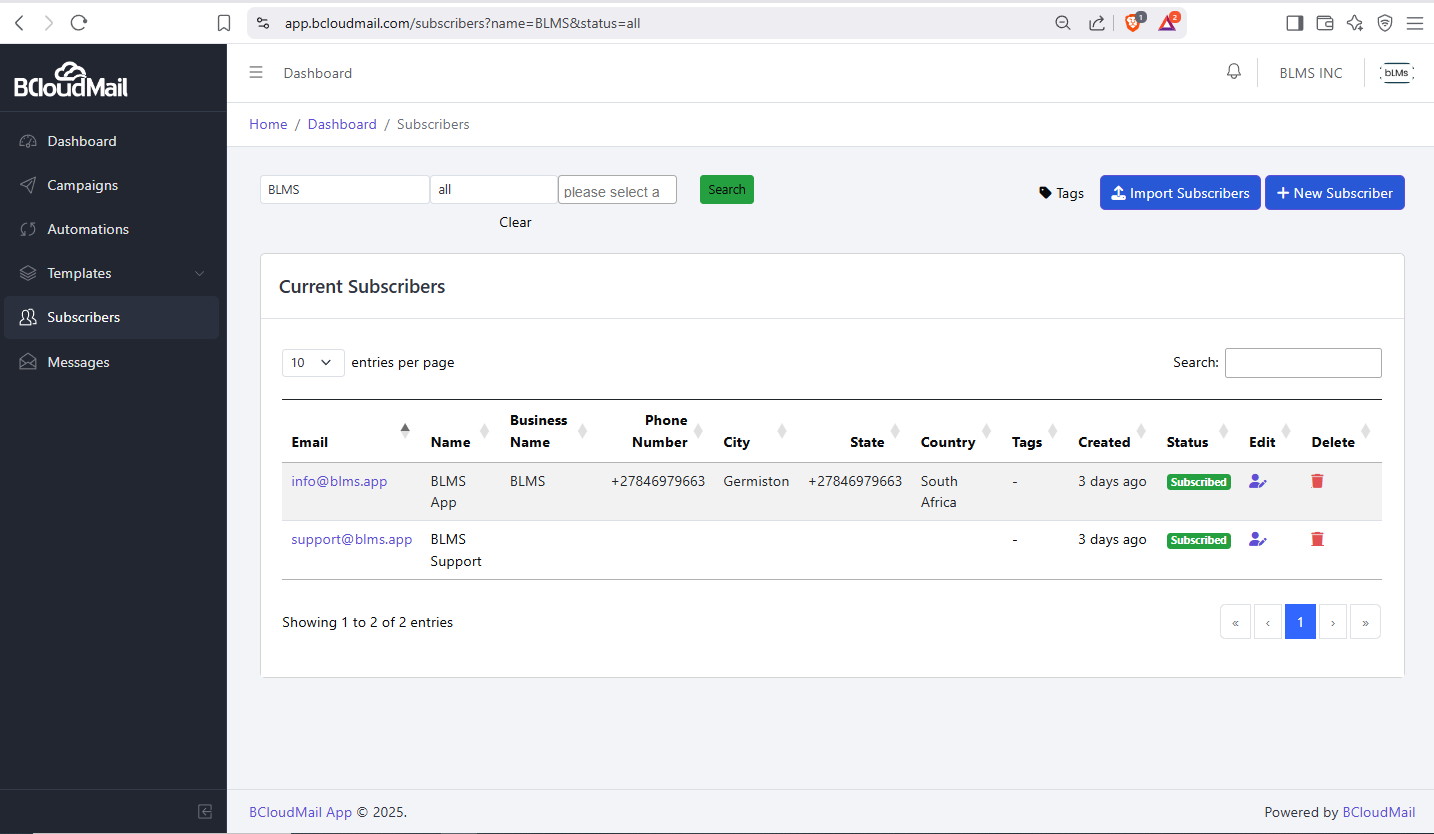
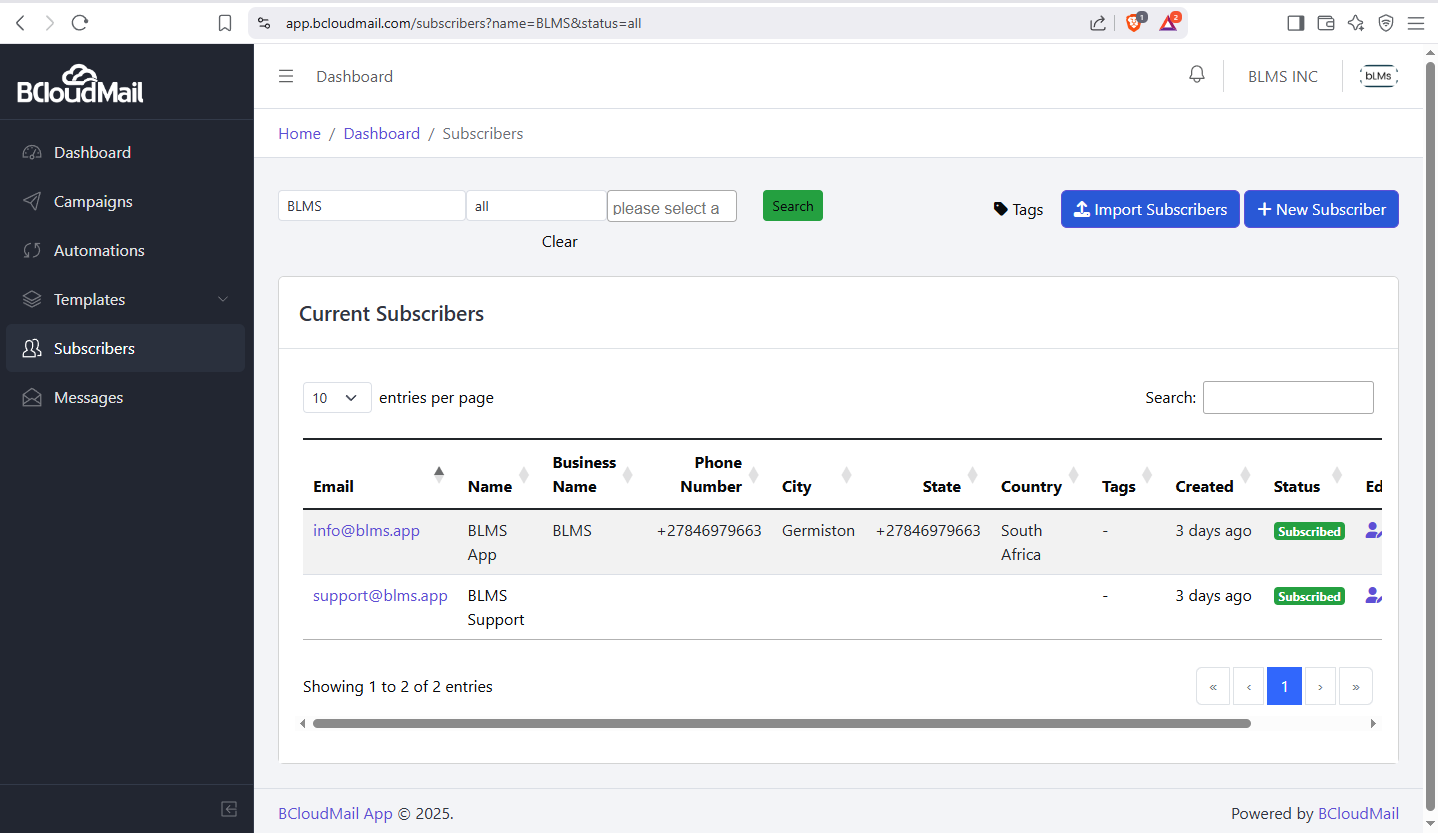
The Subscribers page in your BcloudMail account is your central hub for managing your contact lists. Here you can view, organize, add, import, and maintain the individuals and businesses you want to reach with your email campaigns.
Accessing the Subscribers Page:
- Log in to your BcloudMail account at https://app.bcloudmail.com/login.
- In the main navigation menu (usually on the left-hand side), click on Subscribers.
Understanding the Subscriber List:
The Subscribers page displays a table with the following columns, providing a detailed overview of your contacts:
- Email: The email address of the subscriber. This is the primary identifier for each contact.
- Name: The full name of the individual subscriber.
- Business Name: The name of the business associated with the subscriber (if applicable).
- Phone Number: The phone number of the subscriber.
- City: The city of the subscriber.
- State: The state or province of the subscriber.
- Country: The country of the subscriber.
- Tags: Labels you can assign to subscribers to categorize and segment your lists (e.g., “VIP Customer,” “Interested in Product A,” “Newsletter”).
- Created: The date and time when the subscriber was added to your BcloudMail list.
- Status: Indicates the current status of the subscriber (e.g., “Subscribed,” “Unsubscribed”).
- Edit: An action button (usually an icon like a pencil) that allows you to modify the details of a specific subscriber.
- Delete: An action button (usually an icon like a trash can) that allows you to permanently remove a subscriber from your list.
Key Actions on the Subscribers Page:
At the top of the Subscribers page, you will find options to perform the following actions:
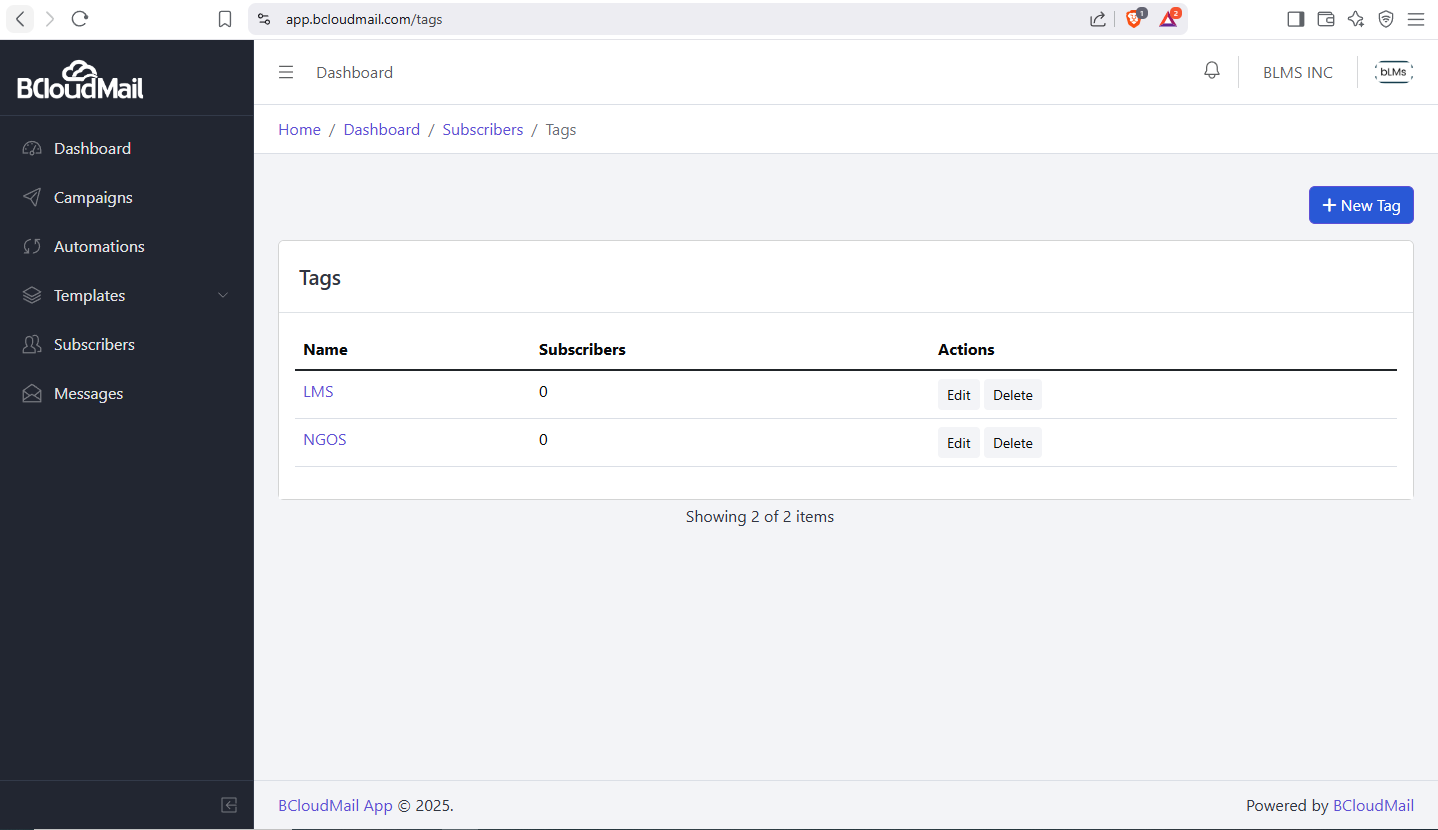
1. Add Tags:
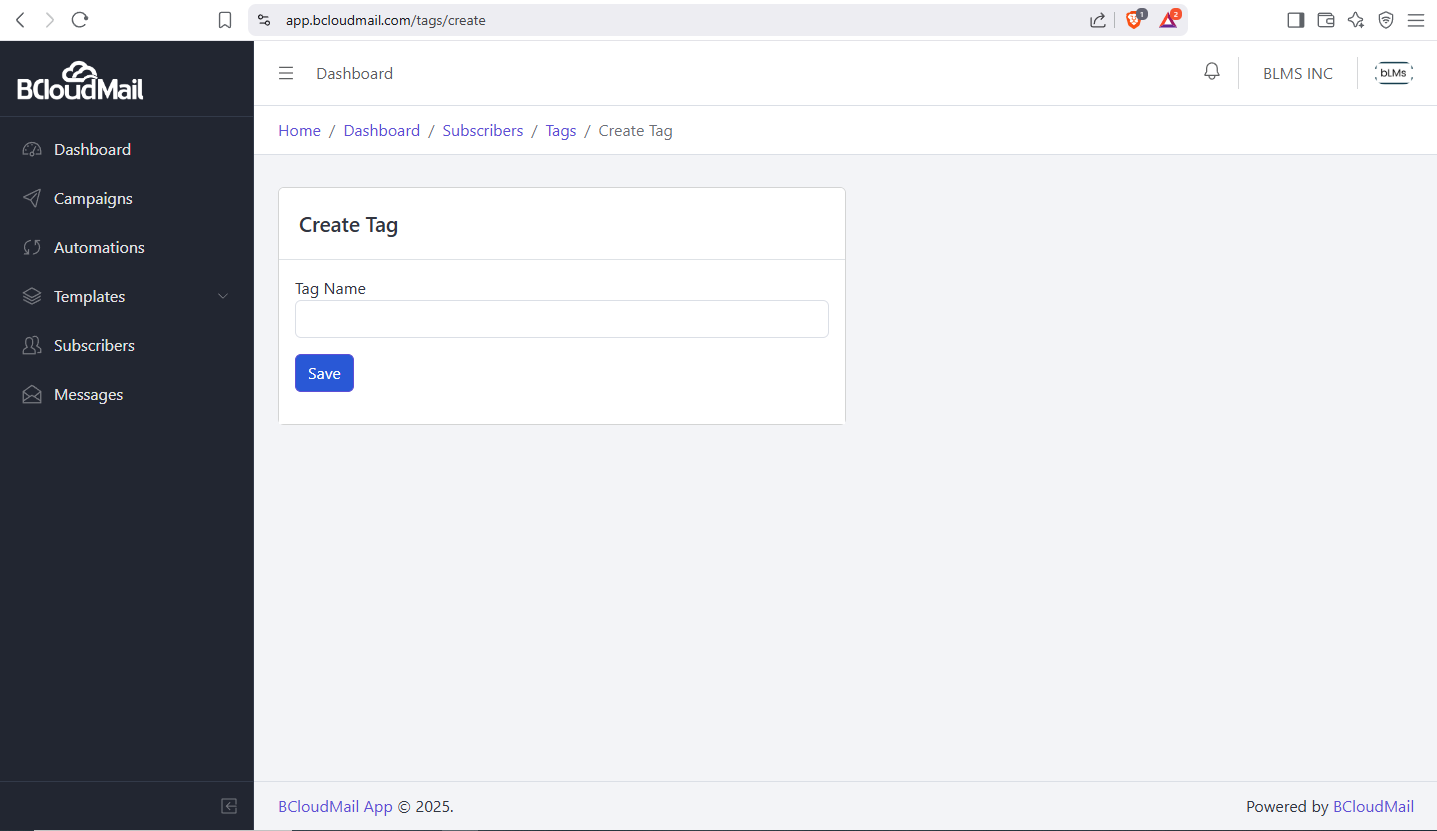
This feature allows you to create new tags that you can then apply to your subscribers for better organization and segmentation.
- Click the “Add Tags” button.
- Enter the name of the new tag in the provided field.
- Click “Save Tag” or a similar button.
- Once created, you can assign these tags to individual subscribers or during the import process.
2. Import Subscribers:
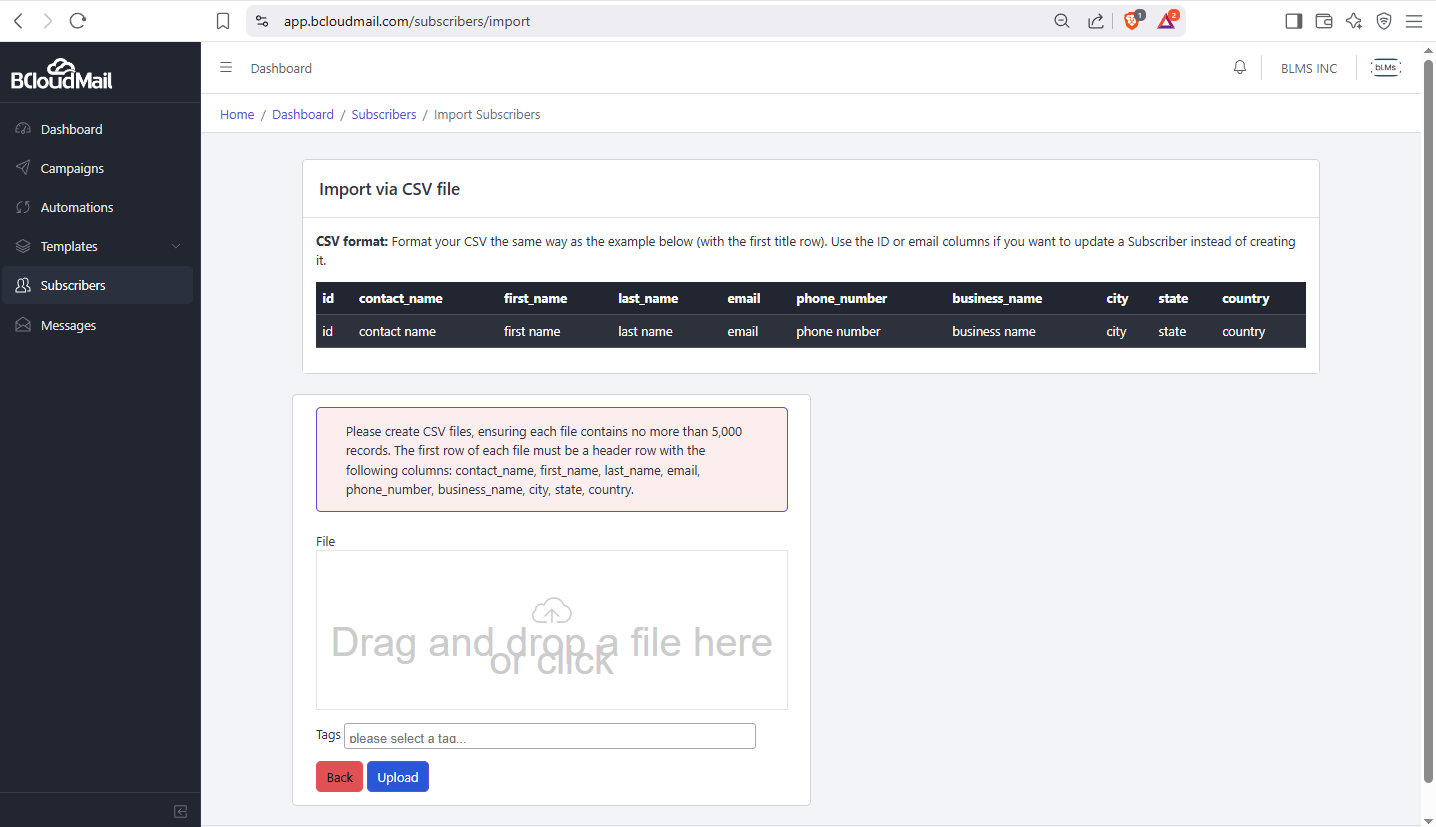
This option allows you to add multiple subscribers to your list at once by uploading a CSV (Comma Separated Values) file.
- Click the “Import Subscribers” button.
- You will be guided through the import process, which typically involves:
- Downloading a sample CSV file: This helps you format your data correctly.
- Preparing your CSV file: Ensure your file has columns that correspond to the fields in the subscriber table (Email, Name, Business Name, etc.). The “Email” column is usually mandatory.
- Mapping your CSV columns: You will need to match the columns in your CSV file to the corresponding fields in BcloudMail, which include contact_name, first_name, last_name, email, phone_number, business_name, city, state, and country.
- Handling existing subscribers: You may have options to skip existing subscribers, update their information, or both.
- Default Newsletter Subscription: By default, all imported subscribers will be opted in to receive your newsletter.
- Uploading your CSV file: Select your prepared file and click “Import” or a similar button. Please ensure each file has a maximum of 5,000 rows.
3. Add New Subscriber:
This option allows you to manually add individual subscribers to your list.
- Click the “Add New Subscriber” button.
- A form will appear where you can enter the details of the new subscriber, including:
- Email (required)
- Name
- Business Name
- Phone Number
- City
- State
- Country
- Tags (you can select existing tags or create new ones)
- Default Newsletter Subscription: When adding a new subscriber manually, they will be opted in to receive your newsletter by default. You may have an option to uncheck this if necessary.
- Click “Save Subscriber” or a similar button to add the new contact to your list.
Managing Individual Subscribers:
In the subscriber list table, you can perform the following actions for each individual subscriber:
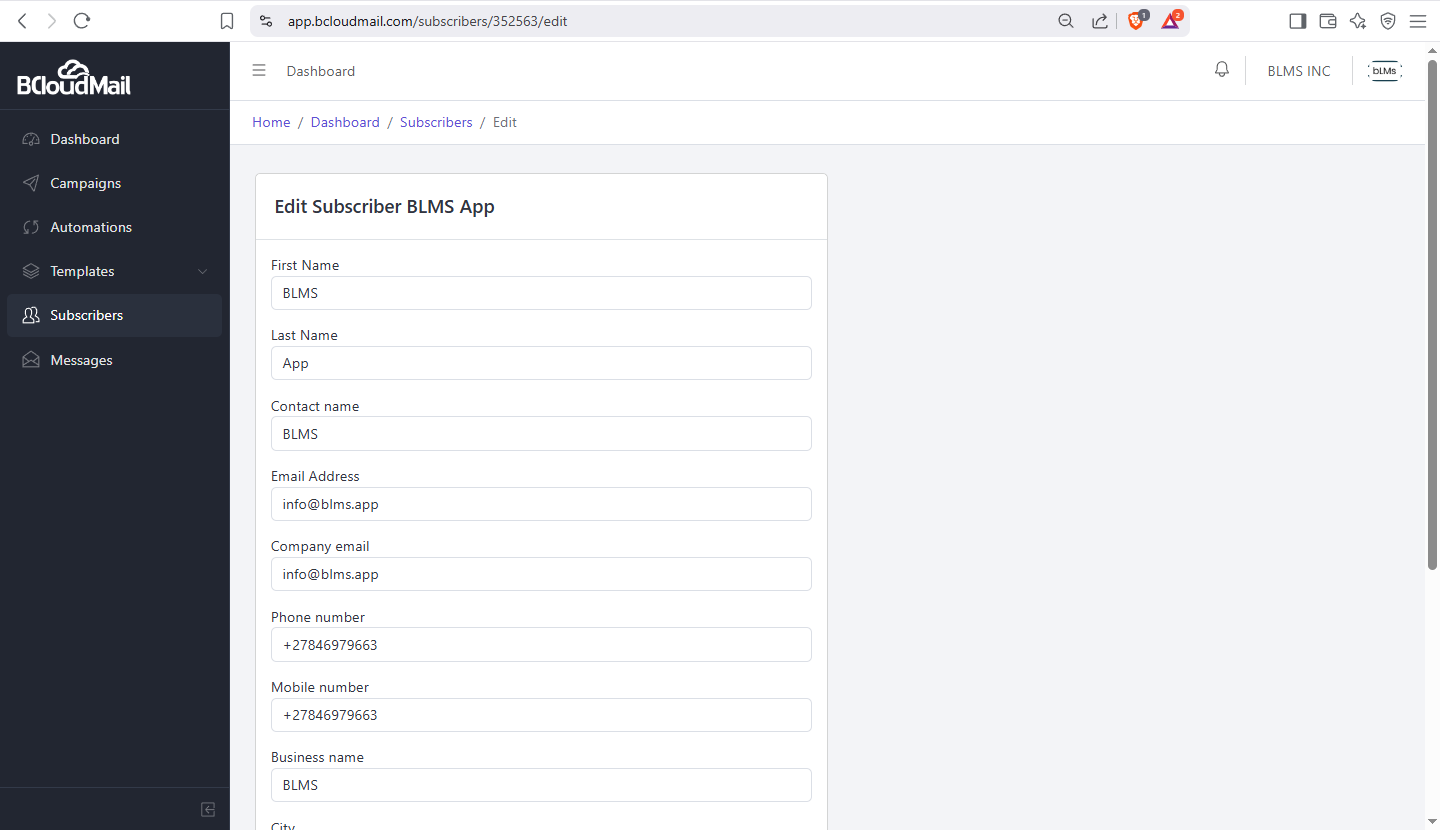
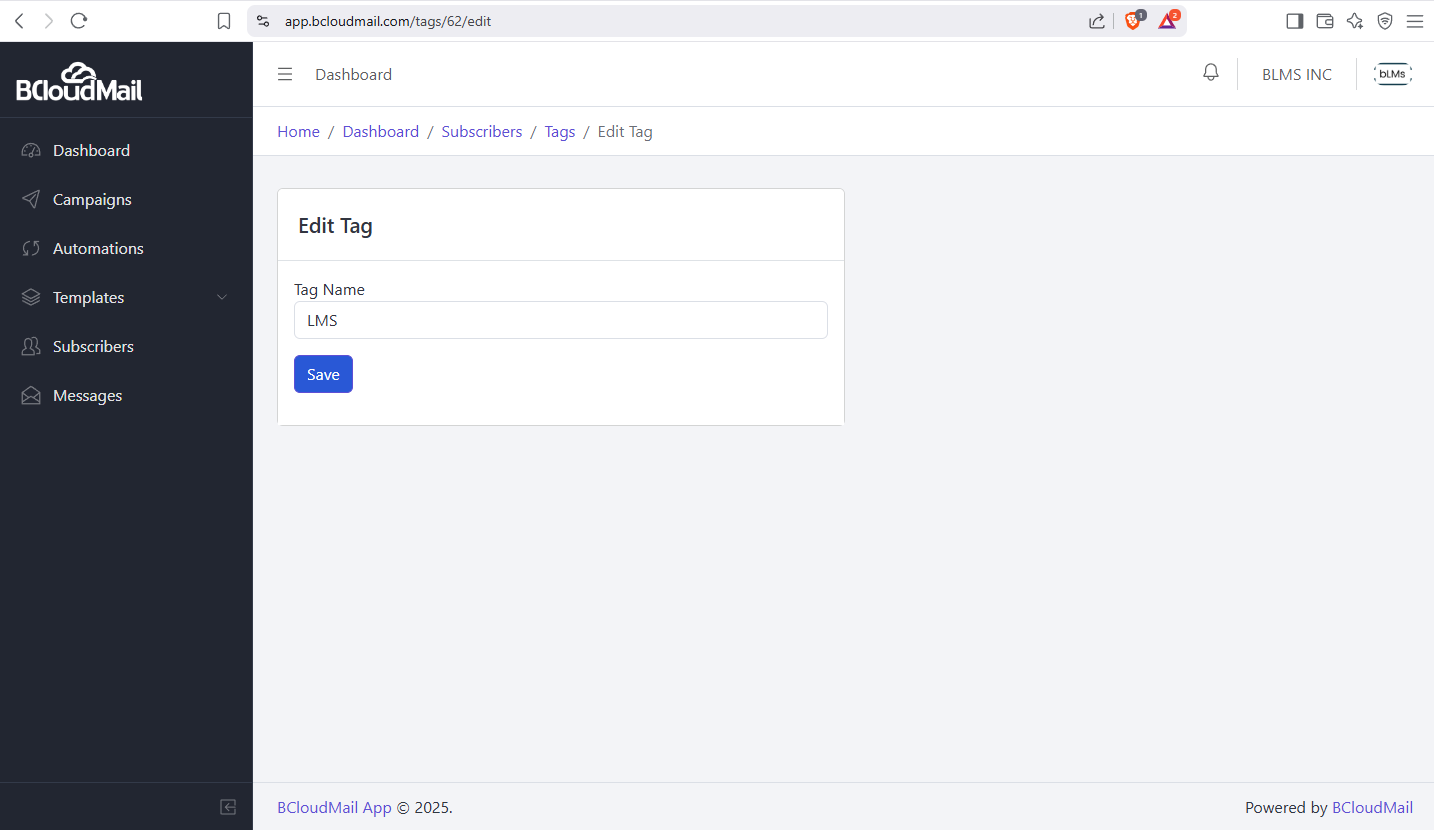
- Edit: Click the “Edit” icon to modify the subscriber’s details, including their name, contact information, and assigned tags.
- Delete: Click the “Delete” icon to permanently remove the subscriber from your list. Be cautious when deleting subscribers as this action cannot be undone.
Using Tags for Segmentation:
Tags are a powerful tool for organizing your subscribers based on shared characteristics, interests, or behaviors. By using tags, you can create targeted email campaigns that are more relevant to specific groups within your audience, leading to better engagement.
The Subscribers page provides you with the tools you need to effectively manage your contacts and build targeted email lists within BcloudMail.